
A weekly publishing plan is easier to manage when every post has an audience, a purpose and a checked destination. In Momo Business, Posts lets you prepare shared copy, adapt it for individual accounts, save drafts and schedule publication. The useful outcome is a small queue you can explain and verify, with time left to handle replies.
This tutorial plans three posts for a fictional repair workshop. It shows how to prepare the whole week without accidentally publishing unfinished work, then check each destination after publication. Replace the example business details with information you have verified.
Prepare the accounts and the weekly brief
You need permission to view Posts and posts.manage access to create, edit or schedule publications. Your user must also have access to the connected social accounts you intend to use. An account connected elsewhere in the workspace is not necessarily available to you for publishing.
- Open Connected accounts and check the intended business accounts. Resolve expired connections and confirm which page or profile each account represents. A familiar display name alone is not enough when you manage several branches.
- Open Posts. Review Overview, then Scheduled and Drafts. Look for an existing announcement covering the same subject before creating another one. If posting is paused for the platform or workspace, read the notice; queued content may wait until posting is enabled again.
- Agree on a manageable plan. For this example, use the next Monday, Wednesday and Friday in the calendar. The times below are planning choices, not promises about when an audience is most active.
| Publication | Purpose | Example time | Required material |
|---|---|---|---|
| Monday: how collection works | Reduce repeated questions | 09:00 | Confirmed collection process |
| Wednesday: maintenance tip | Give customers something useful | 13:00 | Original photograph and checked advice |
| Friday: weekend arrangements | Set service expectations | 15:00 | Confirmed opening hours |
Choose one person to verify the practical details and another to monitor responses. Publishing a collection reminder creates work if customers reply with questions. Leave room for that work in the weekly plan.
Build the first publication as a draft
- Select New post. In the account selection area, choose only the destinations intended for Monday's message. Start with one account for your first attempt so content requirements are easier to understand.
- Under Shared, enter the Caption. For the fictional workshop, a draft could read:
Collecting a repaired item from Bright Workshop? Please bring your collection reference and wait for our ready-for-collection message before travelling. If someone else will collect for you, contact our team first so we can explain what they need to bring.
This copy deliberately avoids a turnaround guarantee or an invented price. Check that the business actually uses a reference and sends collection messages before adapting it. Keep private customer names and individual repair details out of a public announcement.
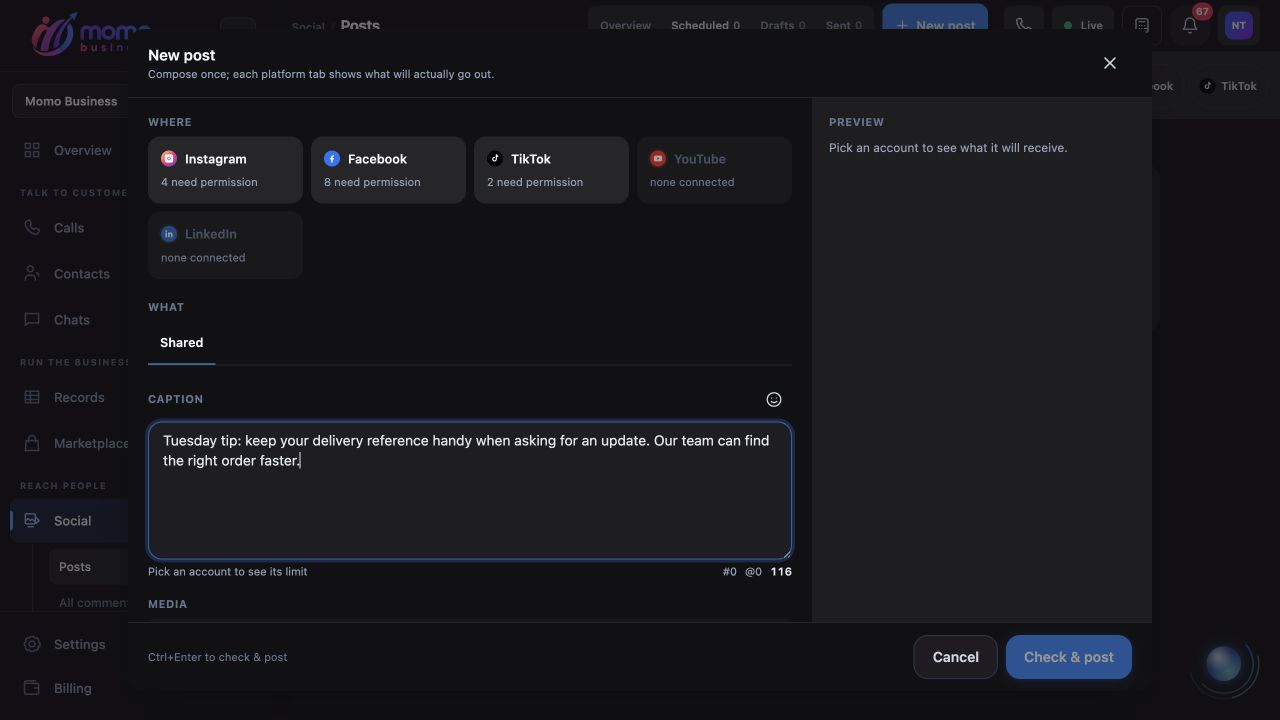
Prepare and review the Shared caption before saving a draft. Text in this open composer has not yet been saved or published.
- Add appropriate media if the selected platform requires it or the post benefits from it. Use an original image you are entitled to publish. Wait for media processing to finish and read the platform-specific requirements shown by the composer. A file accepted for one destination may not meet another destination's format or size requirements.
- In When to post, select Save draft, then Save as draft. Confirm that the publication appears under Drafts. The initial composer mode can be Post now, so make this choice explicitly before using the final button or its keyboard shortcut.
A saved draft is useful for review; leaving text in an open composer is not the same as saving it. Reopen the draft and check that the caption, selected accounts and media are present before preparing the next item.
Adapt the message for each destination
- Open the draft's Edit action and review its account or platform tabs. The Shared version supplies the starting content. Editing a destination's version creates a customized version for that account. Review the customised indicator and the preview so you know which accounts still follow Shared.
For example, the workshop's Facebook announcement can explain the collection process in full. An Instagram image caption could open with “Ready to collect? Bring your reference.” and then give the same essential instructions. Both versions should make the same promise, even when their wording differs.
Do not assume a later Shared edit changes an account version you already customized. Check that version explicitly. If the customization is unnecessary, use the available revert control to return it to Shared, then inspect the preview again.
- Review every selected account's Preview. Check the first visible lines, image order, captions and any first-comment content you configured. The preview is a composition aid; the platform's final presentation and link handling can differ. Complete any required platform options shown in the editor.
Read validation errors before changing the schedule. A red error needs correction. A warning describes a tradeoff the app asks you to acknowledge; read it before ticking permission to post anyway. If content changes, review the resulting checks again rather than assuming an earlier acknowledgement still settles the issue.
Schedule the three posts deliberately
- For the reviewed Monday draft, choose Schedule and select the next Monday at the agreed time. Check the timezone shown by the composer and the actual date. Select Check & schedule only when the account, copy and time are ready. Return to Scheduled, open the publication and verify its scheduled timestamp.
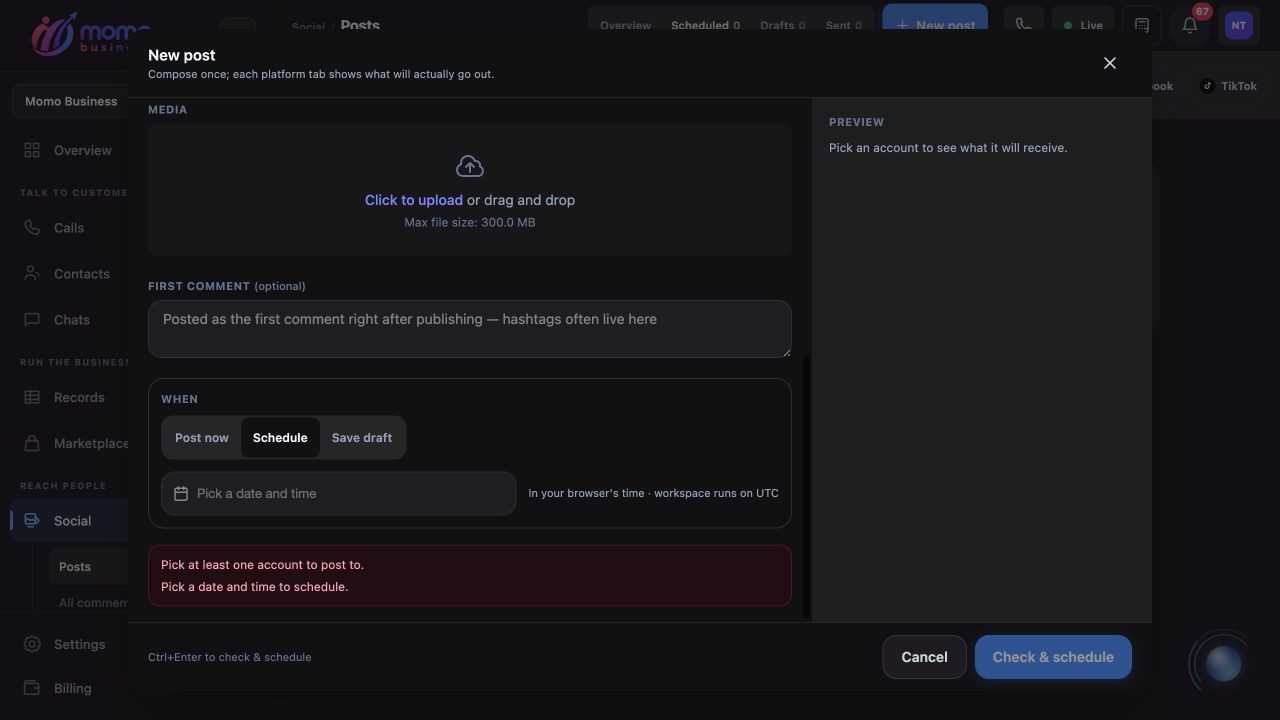
Check the date, time and timezone before scheduling. Selecting Schedule mode alone does not save the publication.
- Create Wednesday's post using the same draft-first routine. A suitable original idea is a photograph showing how the workshop labels equipment before repair, accompanied by a short explanation of why a reference helps the team identify the right item. Avoid turning general maintenance advice into instructions that require specialist handling.
- Prepare Friday's post with the business's real weekend hours and the correct contact route. Schedule it for the chosen Friday, then inspect all three entries together. Check for a duplicate date, the wrong branch account or two posts competing at the same moment.
These are three separate publications. Setting one time does not automatically create a repeating weekly series. For the next week, prepare new content and check its details again.
Check publication and handle a partial failure
After the scheduled time, open Sent and inspect the publication's destination results. Follow an available platform link to verify the actual post. One successful destination does not prove every selected account published successfully.
If the publication appears under Failed, read each affected target's status and explanation. A connection problem calls for reconnecting that account; rejected content calls for fixing the stated content problem. Temporary provider errors may already be waiting for an automatic retry. Check the current state before using Retry on an eligible failed destination, and avoid creating a whole replacement publication when other destinations already succeeded.
To change a scheduled post, use its available Edit action before publication begins. Cancel schedule returns a scheduled publication to a draft; it does not erase an already published platform post. Stopping a publication already in progress leaves completed destinations completed. Likewise, deleting the local publication and choosing Delete on a platform are different operations; read the confirmation before either.
The week's plan is ready when the three scheduled records have the correct dates and destinations, and someone knows when to check their results. After each publication, monitor replies through the social comments workspace and record one useful change for the next week's copy.